
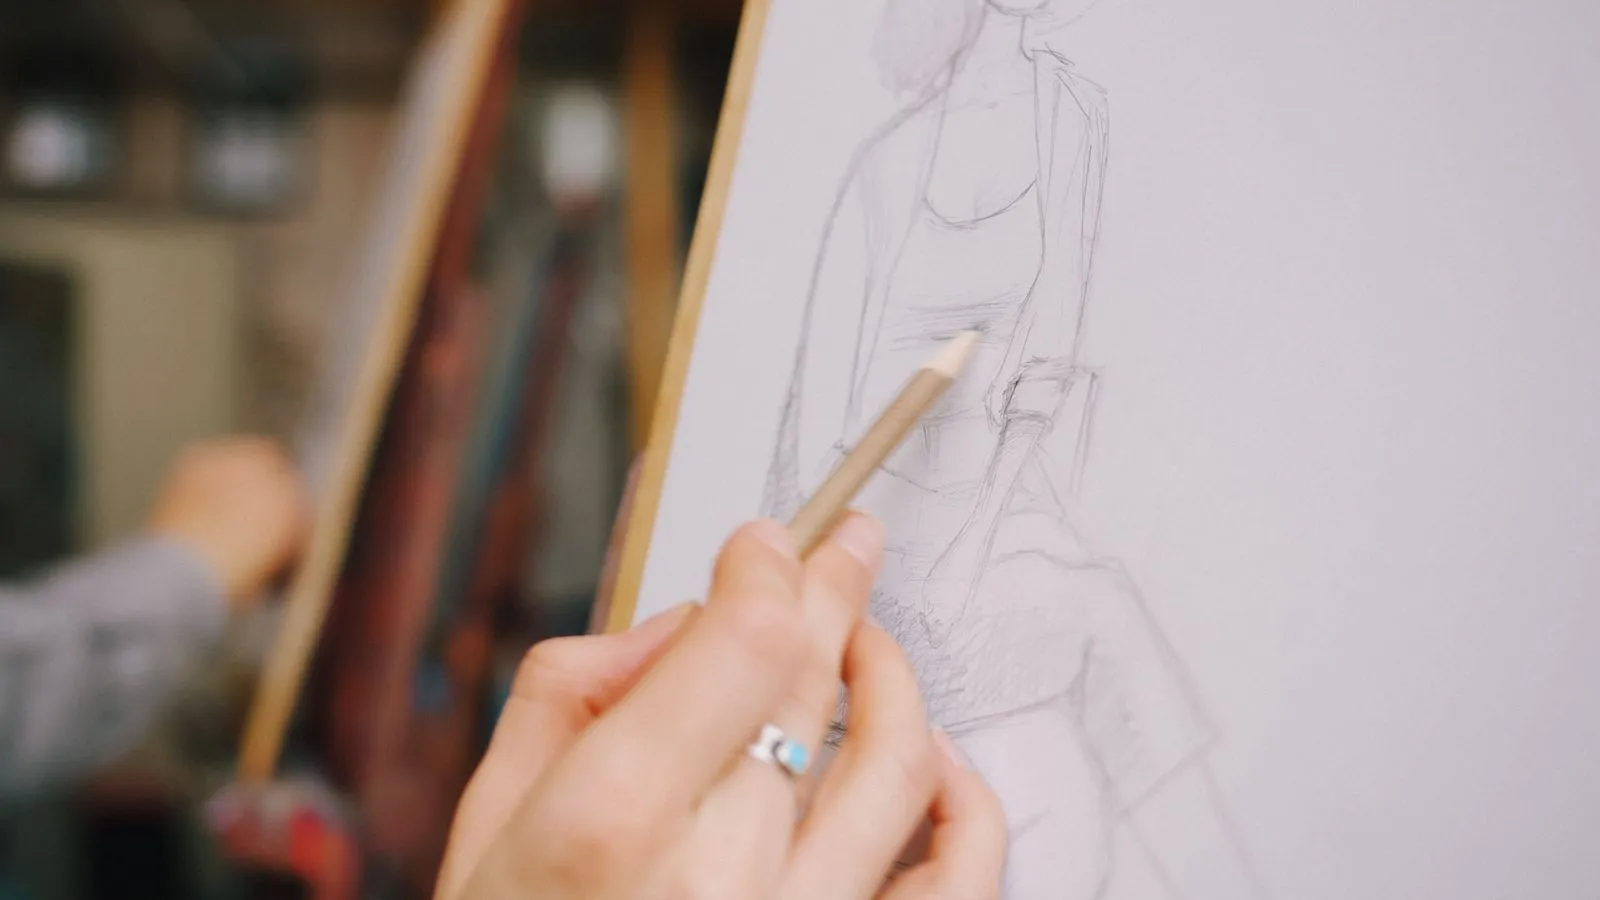
Gesture drawing trains you to see what a figure is doing before you focus on how it looks. In a short pose, there is little time for outlines, shading, or small details. Instead, you look for the movement through the body, the shift of weight, and the main relationships between its parts. A few simple habits can make each practice session more focused and help you build drawings that feel active and balanced.
Start With the Action
Before drawing a contour, decide what the pose is doing. Is the figure reaching, leaning, turning, or resting? Look for the direction that runs through the head, torso, and hips. Put that movement on paper with one loose line. It does not need to match the body’s outline; it should summarize the pose’s main action.
Keep your first marks light and simple. A sweeping curve can suggest a bend, while a straighter line may express a firm extension. Avoid correcting the line repeatedly. Gesture drawing is an exercise in making a clear decision from observation, not polishing the first mark into a finished drawing.
Find Balance and Weight
Next, notice where the figure’s weight rests. Identify the supporting foot or points of contact, then compare them with the position of the hips and shoulders. If the body leans, check whether its mass appears supported or whether the pose seems to tip unintentionally. These relationships help a quick sketch feel grounded.
Use a simple head-to-foot check: imagine a vertical line dropping from the center of the torso and see how it relates to the supporting area. This is not a rule that every pose must stand straight over one foot; it is a way to test what the figure is balancing against. For seated or reclining poses, look for contact with the chair, floor, or other support.
Build the Essential Structure
Once the action and balance read clearly, add a few large forms. Block in the rib cage and pelvis as simple shapes, then connect them with the direction of the torso. Add the head, limbs, and major joints as needed to clarify the pose. Keep the shapes broad rather than tracing every edge.
Pay attention to how the forms relate: which side of the torso is compressed, where it stretches, and how the limbs angle away from the body. If a limb’s placement is unclear, mark its direction before drawing its volume. This order keeps structure connected to movement instead of turning the sketch into a collection of unrelated parts.
Practice With a Clear Goal
Set a timer for each pose and choose one thing to study, such as the spine’s curve, the angle of the shoulders, or the distribution of weight. Use the first moments to observe, the next marks to establish action and balance, and any remaining time to clarify the main forms. When the timer ends, move on rather than refining details.
Review the drawings after the session. Ask whether the action reads at a glance, whether the figure seems supported, and which large relationship feels uncertain. Note one adjustment to try in your next round. At Fresno Figure Studio in Fresno, structured figure-drawing practice can help artists build this observation routine with regular feedback.
Short poses are useful because they make you prioritize. Begin with the action, check how the figure carries its weight, and add only the forms needed to explain the structure. Consistent, focused practice will make these decisions more natural. Try a few timed sketches this week, or explore a figure-drawing class to keep developing your approach.